
Hello friends, Nico here, again. The last article I wrote did well; however, it was about eating crayons, and eating crayons is frowned upon.
So today young boys and girls, I’m going to learn you a thing or two, and yes I meant to use learn, about making crayons that you can actually eat.
[media-credit id=129 align=”alignright” width=”225″] [/media-credit]
I started off by going to my favorite store for supplies. At Dollar Tree, I bought Starbursts, Skittles, straws, crayons, wooden dowels and other supplies I completely did not need but looked fun or delicious.
I also went to City Market because Dollar Tree can’t give you everything you need, and I have a City Market card – so points towards gas. At the second store, I purchased food coloring and Ghiradelli chocolate melts. I really wanted fondant, but of course, the City Market I went to was lame. So I had to make a trip to Walmart, my third store of the day. Overall, I think I spent about 40 dollars with 20 dollars on non-essentials, so you could probably do this whole shebang for maybe five doll hairs.
Once at home, I put all the groceries away and I proceeded to pull the thingamabob out of the bag and place it on the counter. Then I opened the drawer and got the whatchamacallit as well as opening the cupboard and grab the doohickey at the same time. I stuck the whatchamacallit in the doodad on top of the thingamabob and turned and wiggled and finally popped and then poured it into the doohickey.
[media-credit id=129 align=”alignleft” width=”265″] [/media-credit]
I then set the thingamabob in the fridge and me and my freshly poured glass of adult grape juice decided there was no better way to spend a Saturday night than making crayons to eat.
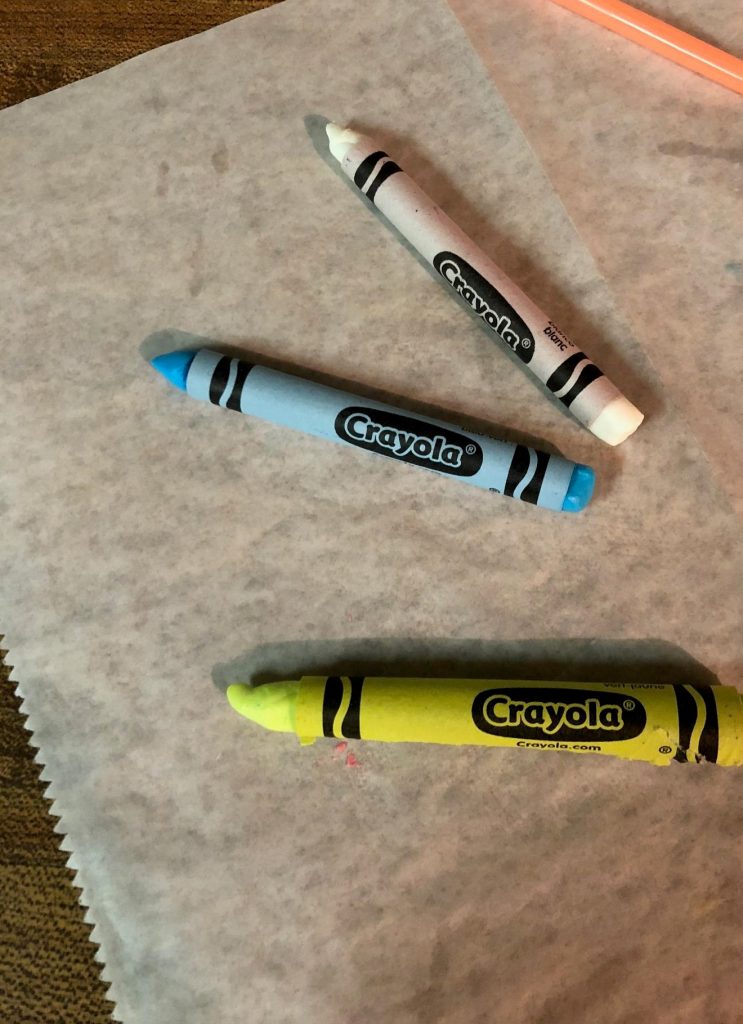
I started by taking a razor blade to the crayons and slowly and evenly cut the wrapper off them. I put the naked crayons back in the box to save for a snack later, and I set aside the wrappers. Just kidding. Or am I?
There are many ways to make edible crayons. The first way involved Starbursts. How do you do this, you might ask?
[media-credit id=129 align=”alignright” width=”150″] [/media-credit]
First, separate the Starbursts and start peeling a couple that are of the same color. I chose the red ones. From there you just want to squish them together and once they start to soften a bit, roll and mold them in a shape of a crayon. Once it’s molded, grab one of the wrappers you set aside – preferably one that matches the color of your newly formed crayon– and wrap that baby up.
Voila! The first batch of edible crayons are done!
The second way to make your edible crayons in with skittles. But I definitely won’t recomend these. It was a huge mistake. It came out horribly inedible. Like, I guarantee I could take it outside and throw it against my car and need to call somebody to fix the hole it would make. That is how crazy hard they turned out.
[media-credit id=129 align=”alignleft” width=”197″] [/media-credit]
Moving on. The third way I tried was using fondant. There are many colors of fondant you can buy. However, for the price of two containers of colored fondant, you can buy one thing of white fondant and two things of food coloring.
Disclaimer: food coloring is extremely messy – I found out the hard way – and you should either wear gloves, put something down– such as parchment paper – or both.
Grab a small amount of fondant and mix in your chosen color. Start with one or two drops of food coloring and add more if needed. Once color is mixed in well, the hard part starts. You must mould the fondant into a crayon shape and get it into the refrigerator to cool and harden. I made a few crayons like this, but I also left one white. After about 10 minutes or so I was able to put a wrapper on them.
 Nico Ortega | The Criterion
For the last way, we need to grab the chocolate melts. Again, I chose vanilla colorless chocolate because I could add food coloring and make my other colors.
First, we need to melt the chocolate. There are a few ways to do this, but I went with the whole throwing them in a microwave safe bowl and setting the microwave to 17 hours. Mwahaha. Just kidding. After about 30 seconds or so, stop the microwave and stir. If its not completely melted, repeat for another 30 seconds or so. Add a drop or two of food coloring and mix it well.
Now comes the hard part. Remember the straws? Good, because we need them. You need to get your melted chocolate into one of the straws. How you do this is up to you, I used a plastic sandwich bag.
One your chocolate is in the straw, set the straw inside the refrigerator for about 10 to 15 minutes. Now here comes the extremely hard part.
Remember the wooden dowels from Dollar Tree? Oh, you do? Well I didn’t so it won’t be that bad for you. All you need to do is insert the wooden dowel in one side of the straw and push the chocolate out. Don’t ask me how I got the chocolate out of the straw without one, it wasn’t fun. In all seriousness, I recommend you use the dowel trick.
From there, you can shave down one side of the chocolate and stick a wrapper on and now you have a crayon that is made of chocolate.
My final thoughts are that the skittles one was terrible, molding starbursts is a sticky mess, food coloring is horrible because it goes everywhere and always use a wooden dowel.
[media-credit id=129 align=”alignright” width=”189″] [/media-credit]
And shockingly, the chocolate edible crayon one is the only one that you can color with.
For the taste test, I didn’t even attempt to eat the skittles one. But I did eat my red, white and blue one and it tasted like freedom. Or, you know, starbursts, fondant and chocolate. It makes a weird taste when mixed together like that.